Every year about this time, I head to my favorite fruit stand at the farmer’s market and flutter my eyelashes and ask “will there be sugar pears this year?”
This special variety grows quite well in the Pacific Northwest – which is how I encountered them in the first place. As a young culinary student, I stumbled across these gorgeous tiny pears as I was sourcing ingredients for Thanksgiving dinner. I poached them as bite sizes nibbles to enjoy on a cheese plate, for the most EPIC dinner party I’ve ever thrown (complete with deviled quail eggs, stuffed cornish hens, homemade ice cream and individual pumpkin pies…I could go on.) I fell in love with their cuteness and have been hunting them ever since.
It’s much harder to grow this variety here in Colorado. Often, the farm only has a couple of boxes and when they do, they rarely make it to market. But this year, I didn’t even have to flirt to get my sugar pear fix. There they were one sunny fall day. And I bought up all I could carry home with me.
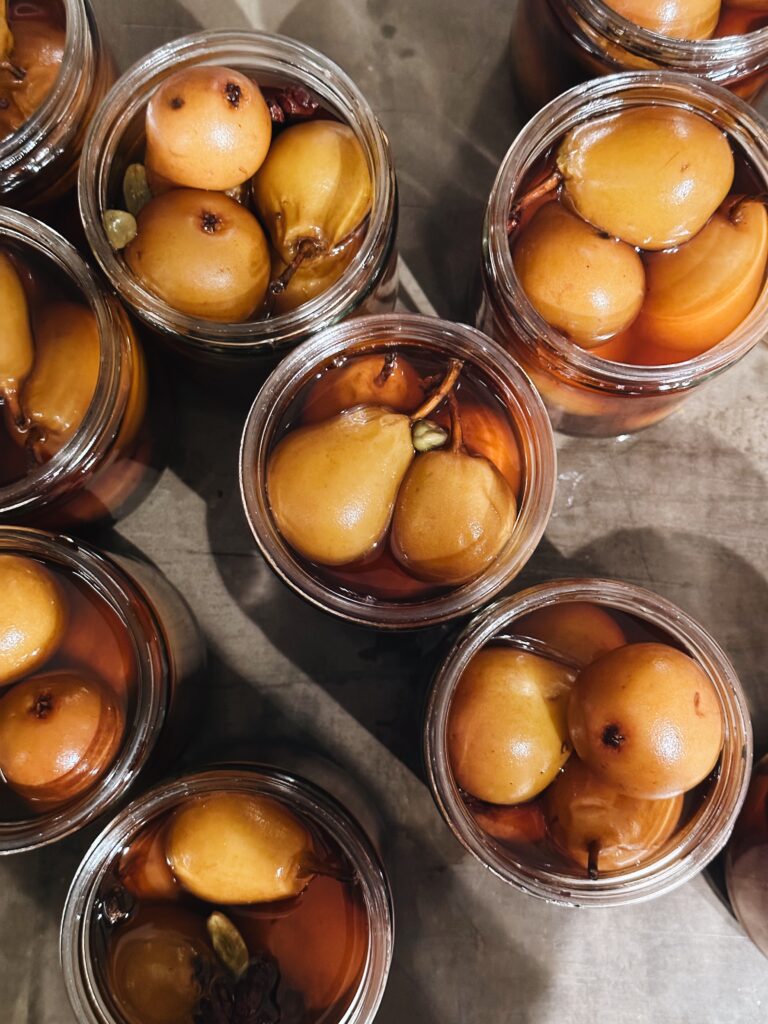
When I can get my hands on these special fruits, I poach them, jar them and give them as gifts. AND, also hoard a few jars for myself to last through the winter.
My dedication to both the gifting and the hoarding has taken on a special new purpose since I began studying Ayurveda nearly 9 years ago. Ayurveda recognizes that when we consume raw fruits with other foods, we create undue digestive distress. The fruit ferments in the stomach before the other ingredients can start to break down, which causes long-term digestive imbalances.
But, if we eat cooked fruits with other foods, we lessen this negative impact significantly. But who poaches pears in the morning for breakfast each day through the winter? No one. Barely even me. Mornings are wild in our house, and I need to have ingredients locked and loaded…and these tiny, special, delicious and easy-to-digest pears are a godsend when I want to add a little sweetness to my toast, want to enjoy something with my coconut yogurt + granola, or forgot to add fruit to our porridge.
By giving these cute, festive, delicious and very special little pears, I’m giving a beautiful gift…and also the gift of better digestion. How thoughtful of me! Ha!
Flavors are FUN, yes, but they also are the mechanisms by which our bodies nourish themselves. Flavors basically tell our bodies what the food is giving us – on a nutritional and energetic level. Our bodies then prepare enzymes to break those components down, assimilate them, and turn them into fuel for our vibrant lives. We can’t eat just one flavor and get all of the things we need, so learning to track the flavors in our foods helps us to be sure that we’re really getting all of the things we need in our meals. This particular recipe has four of six flavors. The more flavors we can enjoy in any meal or food, the happier and more balanced our bodies will be. If you’re wanting to learn more about how the flavors we eat fuel our bodies – energetically and nutritively, check out this little blog post.
with whole spices + maple
Divide your pears between two 5 quart dutch ovens or large pots, placing them with their stems up and bottoms down.
Divide the whole spices, maple syrup, wine (if using) and water between the pots as well.
Place a vanilla bean in each pot, as well as a couple of pieces of lemon peel and a knob of ginger AND a couple of tonka beans (if using!)
Cover the pots with a round of parchment paper to keep them submerged in the liquid.
Now you’re ready to start poaching!
Bring the pots to boil, and then reduce the heat to simmer. The pears will take anywhere between 20-45 minutes to poach completely, depending on your altitude, the size of your pears etc. You’ll know they’re done when you can easily pierce all the way through the pears with a paring knife.
If you’re like me, and want to give your pears as gifts OR just want to save them for later, divide the pears between 12-16oz jars with lids.
You can do this two ways:
Can them: if you wish to properly can your pears and have lids with two-part canning lids, you can use this easy guide to properly store your pears. You’ll want to do this while HOT, so read ahead! With this method, your pears are shelf stable and can be stored out of the fridge.
Jar them and eat them soon: if you’re like me and anticipate that your pears will be gifted and devoured before they have time to acquire a shelf life, simply cool the pears down completely then divide them between jars. Cover the pears completely with the cooking liquid and seal. In this case, you’ll need to store your pears in the fridge.